
Custom Removable Decal
SKU 01031
$45.00
Sold out
4 payments of $11.25 with
Sold out
Product Details
This custom listing is for a Walk in With Hope, Leave with Confidence removable decal. It's size is approximately 37" x 26".
🎨 How to Apply Your Multi-Piece Wall Decal
Thank you for your purchase! Your design comes in 4 separate pieces to make placement and alignment easier. Please read these instructions fully before starting to ensure a beautiful, straight, and damage-free application.
🧰 What You Need:
- Included application squeegee
- Roll of painter's tape or masking tape
- A tape measure and a level
- A clean, dry microfiber cloth (or a clean tennis ball)
- The original design picture (for visual reference)
⚠️ Critical Wallpaper Rules:
- Do Not Use Liquid Cleaners: Never use water, rubbing alcohol, or wet wipes. Moisture can trap behind the wallpaper or ruin the paper's texture.
🛠️ Step-by-Step Installation
Step 1: Prep the Surface
Wipe down the wallpaper area gently with a dry, lint-free cloth to remove any dust. Let your 4 decal sheets lay flat in a warm room for an hour before applying.
Wipe down the wallpaper area gently with a dry, lint-free cloth to remove any dust. Let your 4 decal sheets lay flat in a warm room for an hour before applying.
Step 2: Dry-Run Layout (Most Important Step!)
Before peeling any backing paper, tape all 4 sheets to the wall using painter's tape.
Before peeling any backing paper, tape all 4 sheets to the wall using painter's tape.
- Refer to the original design picture to get the spacing right between the lines.
- Use your tape measure and level to make sure the text blocks are straight.
- Once everything looks perfect, leave them taped there. You will apply them one piece at a time, starting from the top.
Step 3: The "Hinge" Application Method
For each individual piece, apply it using the hinge method:
For each individual piece, apply it using the hinge method:
- Place a long strip of painter's tape horizontally across the exact middle of that specific piece, securing it firmly to the wall.
- Top Half: Lift the top half of the sheet upward. Slowly peel the white backing paper away from the clear transfer tape down to your tape hinge. Cut off the loose white backing paper with scissors. Carefully lower the sheet back down. Starting from the center hinge, use the squeegee to smooth upward and outward.
- Bottom Half: Remove the center painter's tape hinge. Lift the bottom half up, peel away the rest of the white backing paper, and discard it. Lower the sheet and squeegee from the center downward and outward.
Step 4: Lock the Vinyl Down
Firmly rub the entire design with your squeegee over the clear transfer tape. If your wallpaper has a slight texture, rub a clean tennis ball or your thumb over the letters using firm pressure to press the vinyl into the texture grooves.
Firmly rub the entire design with your squeegee over the clear transfer tape. If your wallpaper has a slight texture, rub a clean tennis ball or your thumb over the letters using firm pressure to press the vinyl into the texture grooves.
Step 5: Peel the Tape (Slow & Flat)
Let the decals sit for 15 to 20 minutes so the adhesive can grip the wall. Pick a corner of the clear transfer tape and slowly peel it back. Do not pull outward toward yourself. Pull the tape flat against itself at a 180-degree angle. If any letters start to lift, lay the tape back down, rub firmly with your squeegee, and try peeling again even slower.
Let the decals sit for 15 to 20 minutes so the adhesive can grip the wall. Pick a corner of the clear transfer tape and slowly peel it back. Do not pull outward toward yourself. Pull the tape flat against itself at a 180-degree angle. If any letters start to lift, lay the tape back down, rub firmly with your squeegee, and try peeling again even slower.
Customer reviews
Reviews only from verified customers
No reviews yet. You can buy this product and be the first to leave a review.
Have questions?
Custom Removable Decal
You May Also Like


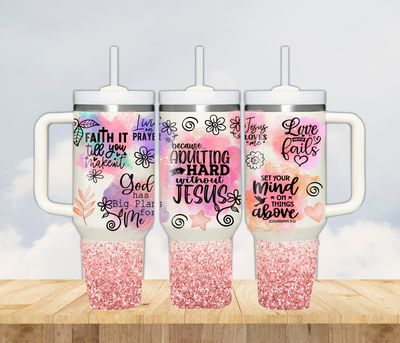
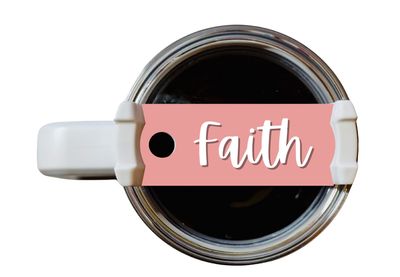
Inspirational 40 oz Travel Tumbler
Inspirational 40 oz Travel Tumbler
Stay inspired—and hydrated—all day long!
SKU 00881
$35.00
Powered by Lightspeed
Display prices in:USD